| Difficulty Level: |
 |
fairly easy |
Parts and Tools
- Plywood or MDF sheet
- MDF or softwood pieces
- knitting needles
- Thin metal rod(s)
- 3x tealight candles
- Masses and holder
- Junior hacksaw
- Panel pins
- Hammer
- PVA wood glue
- Drill and bit
|
|
Instructions
This guide shows how to construct a simple expansion meter. The metal rod is held over a few tealight candles and rests on a bent knitting needle. As the rod heats up, it will expand slightly, turning the needle which acts as a pointer. The movement of the pointer shows the extent of the expansion.
This model is simple to make and can be amended to suit the type of metal rods or strips you already have.
We have not included dimensions in this model as the final size and design of the model can vary to suit your needs.
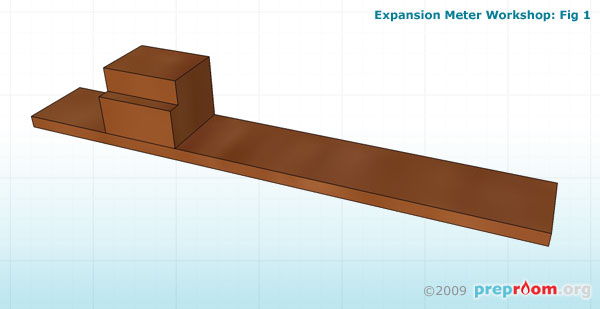
Fig 1: Plywood or MDF base
Fig 1 shows the plywood or MDF base sheet which has been cut into a rectangle. An additional block of MDF has been cut into a stepped shape. This piece needs to be glued to the bottom sheet about ¾ of the way along. Panel pins may also help hold this piece in place.
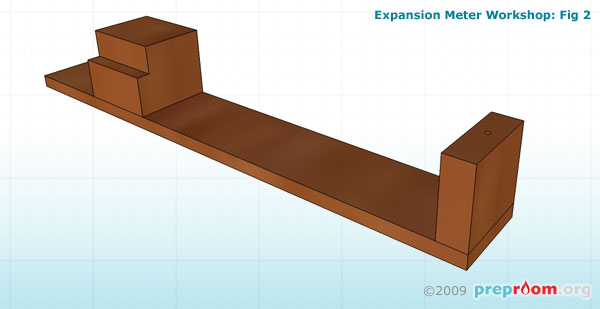
Fig 2: Block of wood glued to the end of the bottom sheet
Fig 2 shows another block of wood which has been glued to the end of the bottom sheet. If a metal bar is to be used with this model, a hole needs to be drilled into the top of this end block which will house the end of the rod. Ensure any glue has dried before progressing to the next instructions.
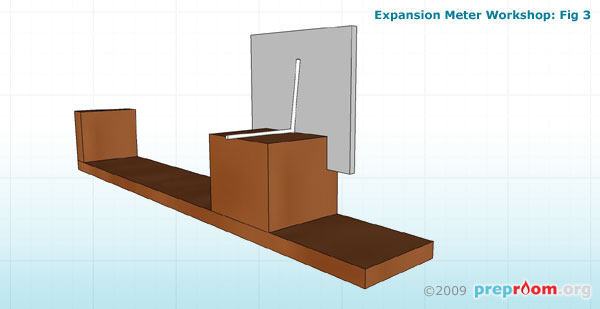
Fig 3: Knitting needle
Fig 3 shows the knitting needle which is bent and placed loosely on the block. This will act as a pointer showing the extent of the expansion. The expansion rod sits on top of this needle. Until the expansion rod rests upon this needle, it will not sit upright so will have to be held.
A square sheet of plywood should be nailed or glued to the stepped block which will act as a dial.
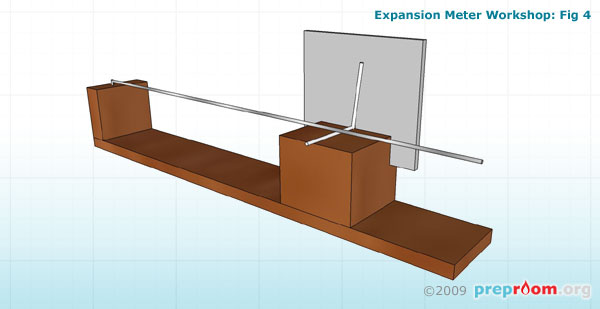
Fig 4: expansion rod in place
Fig 4 shows the expansion rod in place. One end is bent and fixed into the hole in the end block. The other end sits on the knitting needle.
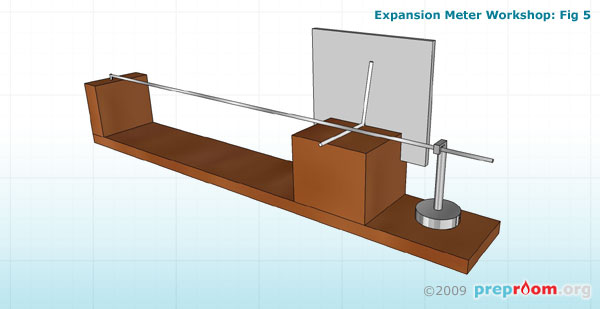
Fig 5: A mass hanging from the free end of the expansion rod
Fig 5 shows a mass hanging from the free end of the expansion rod. This keeps the rod in place and ensures it rests upon the knitting needle with enough force that when the expansion occurs, it can move the pointer.
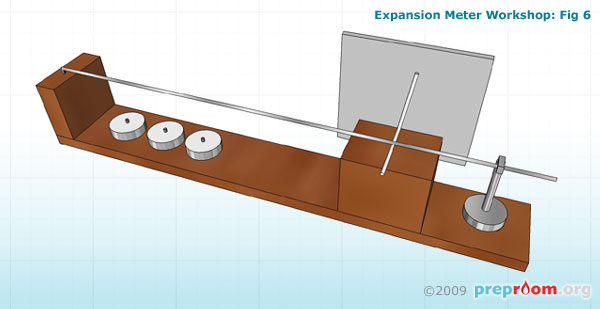
Fig 6: Finished model
Fig 6 shows the finished model with the tealight candles in place. Marks can be drawn on the dial at regular intervals so that the expansion can be easily seen.
The tealight candles are lit directly under the metal expansion rod. As the rod expands, it rolls over the knitting needle, twisting the pointer across the dial.
Different metal rods can be used on this model to show to what extent each type of metal expands. Metal strips can also be used in the same way.
Disclaimer
Before attempting any of the construction projects featured on this website, ensure you have, and know how to use, the appropriate tools, components and safety equipment and are competent to undertake the project. These guides are for information only and we hold no responsibility for any accidents, injuries or damage caused by the use or misuse of any equipment, project or information contained within this website. In short - use common sense and stay safe!