A camera obscura is an optical device which projects a live image onto a viewing screen. They have been used for many years as a drawing aid, a device to safely view eclipses and as a novelty product.
This guide demonstrates how to construct a very simple camera obscura using an old Pringles tube.

Fig 1 shows the type of tube used in this model. Alternatively for a more robust model, a plastic drainpipe can be cut into sections and used in the same way. Also in the photo is a strip of A4 paper which has been cut into a 50mm wide strip. This is used to help cut an straight line in the tube.
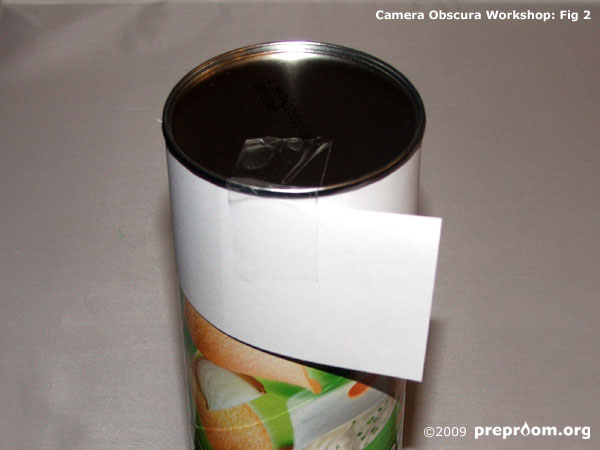
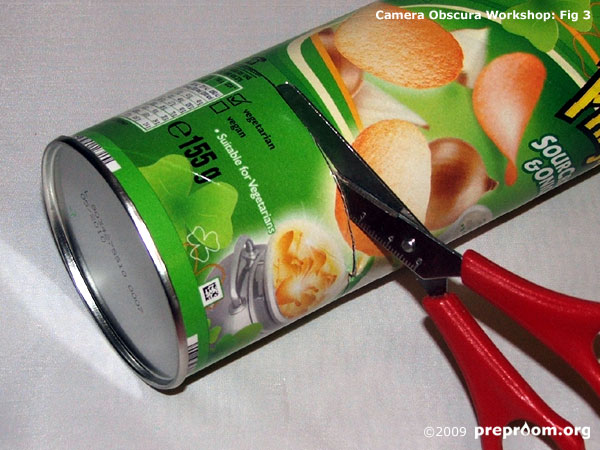
Fig 2 shows the paper strip taped into place against the metal end of the tube. Draw a line along the bottom edge of this paper and cut carefully along the line (see fig 3).
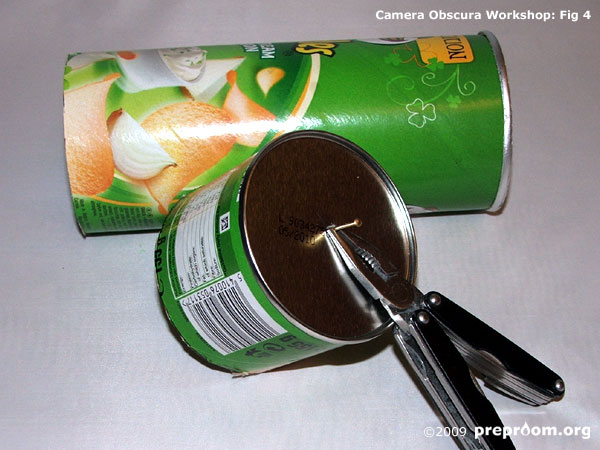
Fig 4 shows the bottom end of the tube. Firmly hold a nail with a pair of pliers and gently push the sharp end into the centre of the metal base of the tube. Turn the nail back and forth using the pliers to slowly ease it through. The hole needs to be small and have clean edges. If the nail is simply hit through, the hole may become uneven and could have rough edges which will affect the quality of the image.
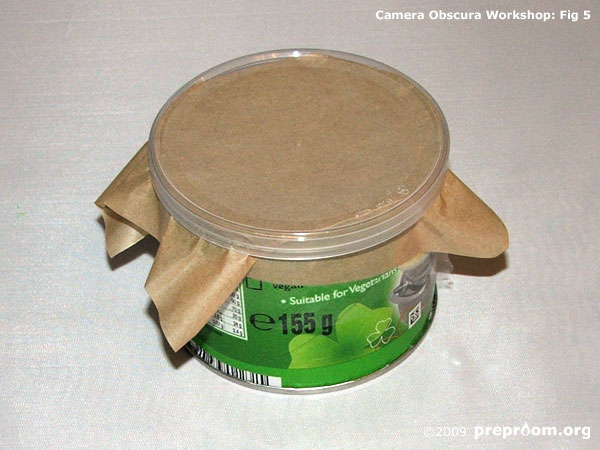
Fig 5 shows the 50mm end of the can with a small sheet of tracing paper laid over the open end. Place the end cap over the tracing paper.
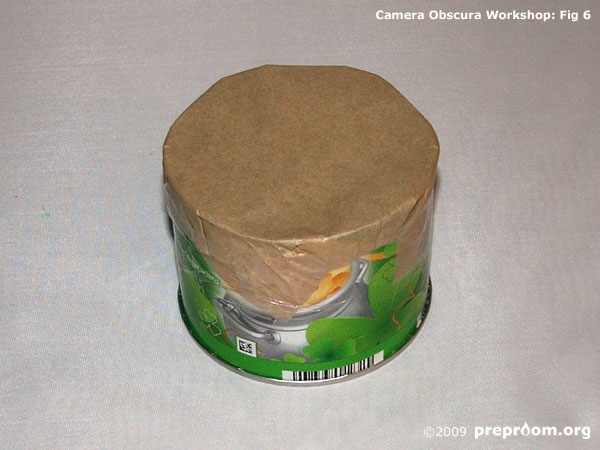
Tape the tracing paper in place with the end cap in place and then remove the cap (see fig 6) The paper should be as smooth and as flat as possible. This will act as the viewing screen upon which your image will be projected.
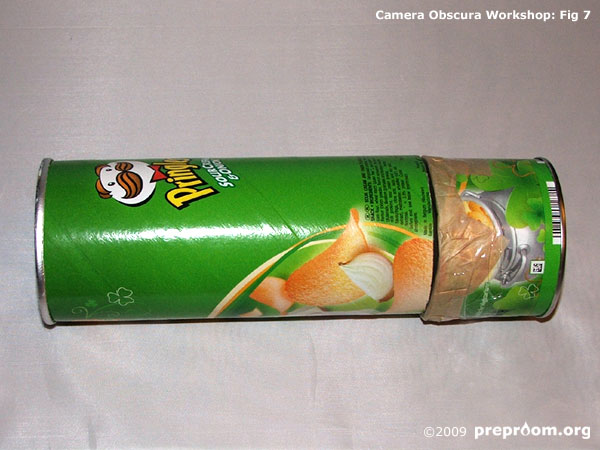
Fig 7 shows the two parts together. The tracing paper end should face the middle of the tube. Tape the two halves in place securely.
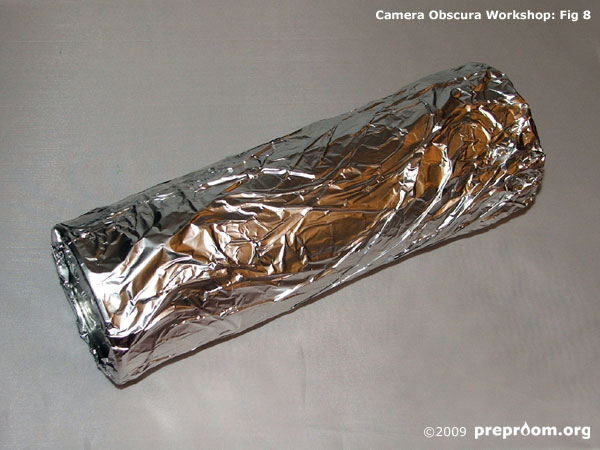
Fig 8 shows the whole tube wrapped in aluminium foil. A couple of layers should be sufficient to stop any stray light from entering through the tube walls.
The camera obscura is now finished. Point the end with the hole at a bright object such as a lamp and look into the other end. You may need to cup your hands around the viewing end so that no light can enter the tube. You should be able to see an image of the lamp projected onto the internal screen. The image will be upside down and back to front.
If the end hole is made smaller, the image should get sharper, but the projected image will become dimmer as a result. If the hole is made too small though, the sharpness becomes worse because the light entering the hole diffracts.