This guide shows how to construct a very simple device which can be used to send Morse code messages. The device comprises a battery, lamp and push switch and provides a good alternative to torches or labpack powered lamps.

Fig 1 shows the components you will need. A PP3 9V battery is used in this model because they are small and easy to attach to the base and the other components but you may instead use a 1.5V AA battery if preferred. If you do, make sure you also change the lamp type to a 1.5V mes lamp.
The push switch may be any type you have. Simple sprung metal switches are both cheap and readily available from lab suppliers although doorbell type switches can also be used if preferred.
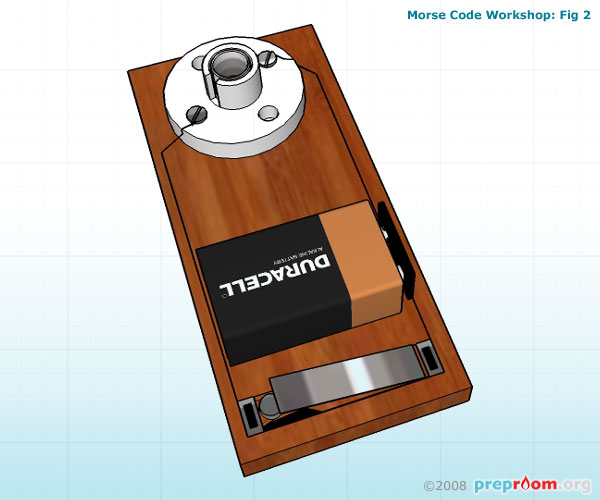
Fig 2 shows how the components need to be laid out. Use a soldering iron and solder to connect one battery terminal to one switch terminal. The other battery terminal is connected to one lamp terminal and the remaining lamp terminal is connected to the remaining switch terminal. Connections should be made with plastic coated copper wire, stripped of insulation 3mm from the ends. The wire should be pulled taught and glued onto the base board using a glue gun.
The lamp holder may be screwed to the base board using two small wood screws, the switch may also have screw holes but if not, use a glue gun to secure it to the base. The battery should also be glued in place unless you are using an AA battery holder which can be screwed down.

Fig 3 shows the circuit diagram for the model if students wish to make their own. The circuit is about as simple as they get and should be very easy to follow even for those who are not electrically minded.
A table showing the key for transmitting Morse code can be found in our Info Library section.