A density can is used to measure the volume of a small solid object such a stone or shell. The can is filled up to the spout with water and the item gently lowered into the can. The displaced water which escapes down the spout and collected is equal to the volume to the item in the can.
More information about density cans can be found in our Equipment section.
Density or 'Eureka' cans can be purchased through most lab suppliers for around £5-£10. They consist of a small can, usually made from aluminium with a spout sticking out of one side. This guide will show you how to make a density can for the approximate cost of 30-50p (assuming you have an old can).
The benefit of making your own cans, apart from the cost savings, is that it can be any size you can lay your hands on and so you are not restricted with what you can put in the smaller commercial cans.
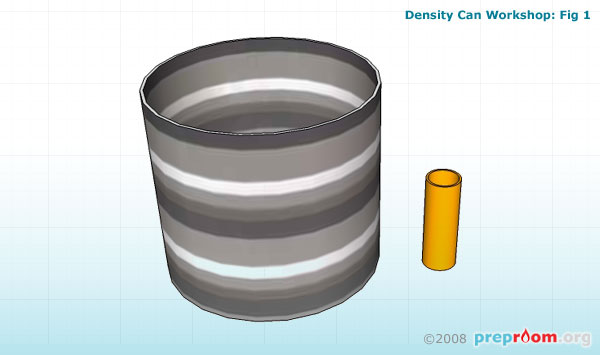
Fig 1 shows a can and length of copper pipe. The pipe is the type used for central heating and water pipes and can be bought in long lengths and then cut into 5cm lengths using a hacksaw. The cut lengths should be de-burred using a round file to ensure there are no sharp edges.
The can should be as large as possible and should be made out of steel if you wish to solder the copper pipe into place. Aluminium cans can be used but require special solder to hold the pipe in place. If using aluminium cans, a glue gun should be used to secure the pipe.
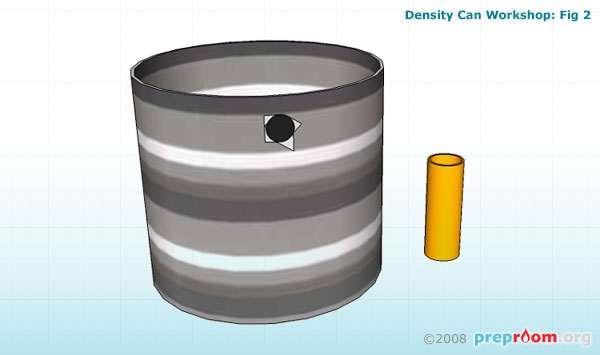
A bradawl should be used to make a small hole in the side of the can near the top (see fig 2). Be careful because sharp edges will be created. Use the tin snips or sharp cutters to make small cuts around the hole created by the bradawl. Bend the parts outwards and snip them off. You should keep going until you have a hole large and round enough to fit the pipe into fairly tightly.
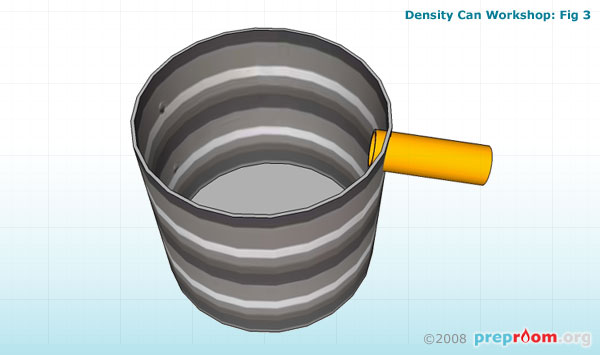
Fig 3 shows the pipe in place. It should point downwards slightly to ensure the water drains out in a controlled manner.
Use a soldering iron and some solder between the copper pipe and steel can to join the two. You are looking to create a water tight seal. Solder inside and out to complete the job. If you have any small gaps, fill them using a glue gun and hot glue.
If you are using an aluminium can, simply use a glue gun to secure the pipe as soldering may prove difficult.
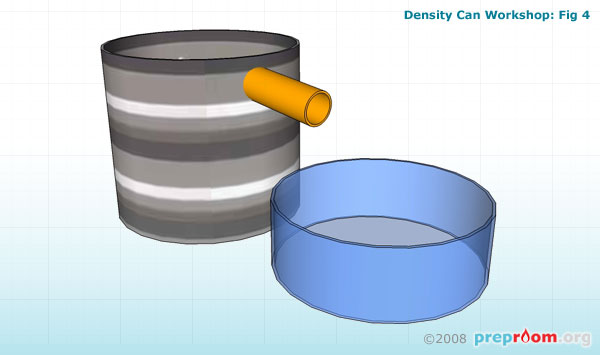
Fig 4 shows the density can in action with a crystallising basin under the spout to catch the water expelled from the pipe. The water should then be poured into a measuring cylinder so that the volume of the item can be established.
If you manage to find yourself enough empty cans, you could make a whole class set of 30 density cans for approximately £15, a potential saving of almost £200!